I recently wanted to record my screen and turn it into an animated gif, on macOS. I also wanted to censor parts of the image.
Here’s how that worked out.
Tools you’ll need to record and publish:
- QuickTime Player (preinstalled)
- ffmpeg & gifsicle (in Homebrew)
If you want to add censor bars:
- GIMP (GIMP) to create the bars
- iMovie (free from the App Store) to add them to the video
- Handbrake (handbrake.fr) to remove the letterboxing
Recording the screencast
Launch Quicktime. Click File -> New Screen Recording. Figure out how to record the video you want, and record it. If you want your gif to loop cleanly, make sure you get enough footage for that.
Unfortunately, it’s in .mov format, which isn’t super convenient for sharing. Save it and call it “stage 1.mov”.
If you don’t need censor bars, skip to Convert .mov to .gif.
(Optional) Create censor bars in GIMP
Open GIMP. Load in one frame of the video (I actually did this by taking a screenshot and importing that).
Create a second layer, and ensure it’s transparent. On this layer, draw your censor bars.
Hide the base layer and export this as a PNG. The PNG should be the same dimensions (NxM pixels) as the video, and should be entirely transparent except for the censor bars.
I’ll call it “censor bars.png”.
(Optional) Overlay censor bars in iMovie
Open iMovie, and drag in your “stage 1.mov” file from QuickTime. Drag your “censor bars.png” into “My Media” too.
If you’ve recorded too much video, then now’s the time to cut that off. Grab the desired end of the video in the timeline view and drag it to resize it.
In the timeline view, drag the .png from “My Media” to above the video (not on top), and release it when a green ‘➕’ shows up. If the image’s duration is longer than the video, scroll right, grab the right end of the image, and resize it until it snaps to the video’s duration.
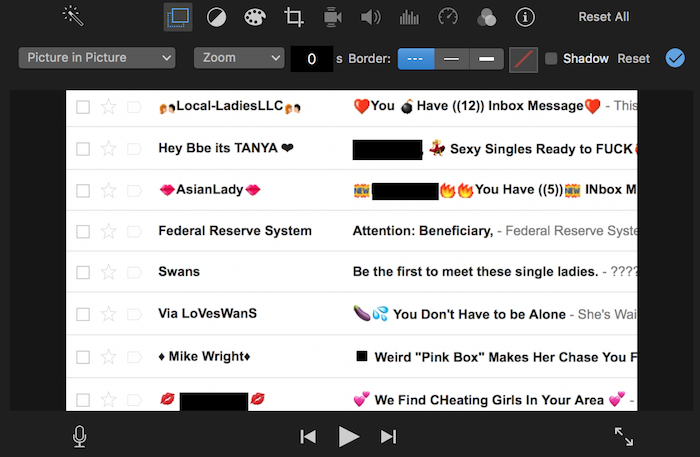
Click the image in the timeline view. Up the top right, in the video preview area, click the “video overlay settings” button and change the overlay type to “Picture in Picture” (mine defaulted to “Cutaway”). Change the effect type to “Swap”, and the duration to 0s. Nothing is showing up yet, and that’s fine.
Click the “cropping” button in the video preview area. Change the “style” from “Ken Burns” to “Fit”. 1 Go back to “video overlay settings” and you’ll find that your censor bars are visible, but they’re the wrong size. Drag the overlay around and drag its corner to fill the screen. The bars should now be in place over the image.
This is how it should look (excuse the blur):
 ——–
——–

Click the play and rewind buttons a couple of times. The video should be animated as normal, but with your censor bars in place.
Export the new video from iMovie by clicking “Share -> File…”. Don’t worry about the “My Movie 1” metadata, it won’t survive the next step. Ensure it’s the same number of seconds as before.
Call it “stage 2.mp4”. Yeah, it’s an mp4 now.
(Optional) Pass it through Handbrake
iMovie puts this dumb letterboxing on output videos to make them 16:9. You’ll want to strip that off.
Launch Handbrake and open your .mp4 file. Set the “Save As” folder to somewhere you want, call it “stage 3.mp4”. You can fiddle with presets (up the top) but I didn’t need to - just click “Start” and it’ll encode your video without the letterboxing.
Convert .mov to .gif with gifsicle
In your terminal, invoke the following magic incantation:
If you added censor bars:
1 | |
Otherwise:
1 | |
Open it in your favourite browser (not Preview) to view the final gif and check that it’s correct.
Success! 🎉
Share your gif with the world!
Here’s mine:
-
[This part drove me crazy the first time around.] ↩